

the basics
For the Love of Dahlias
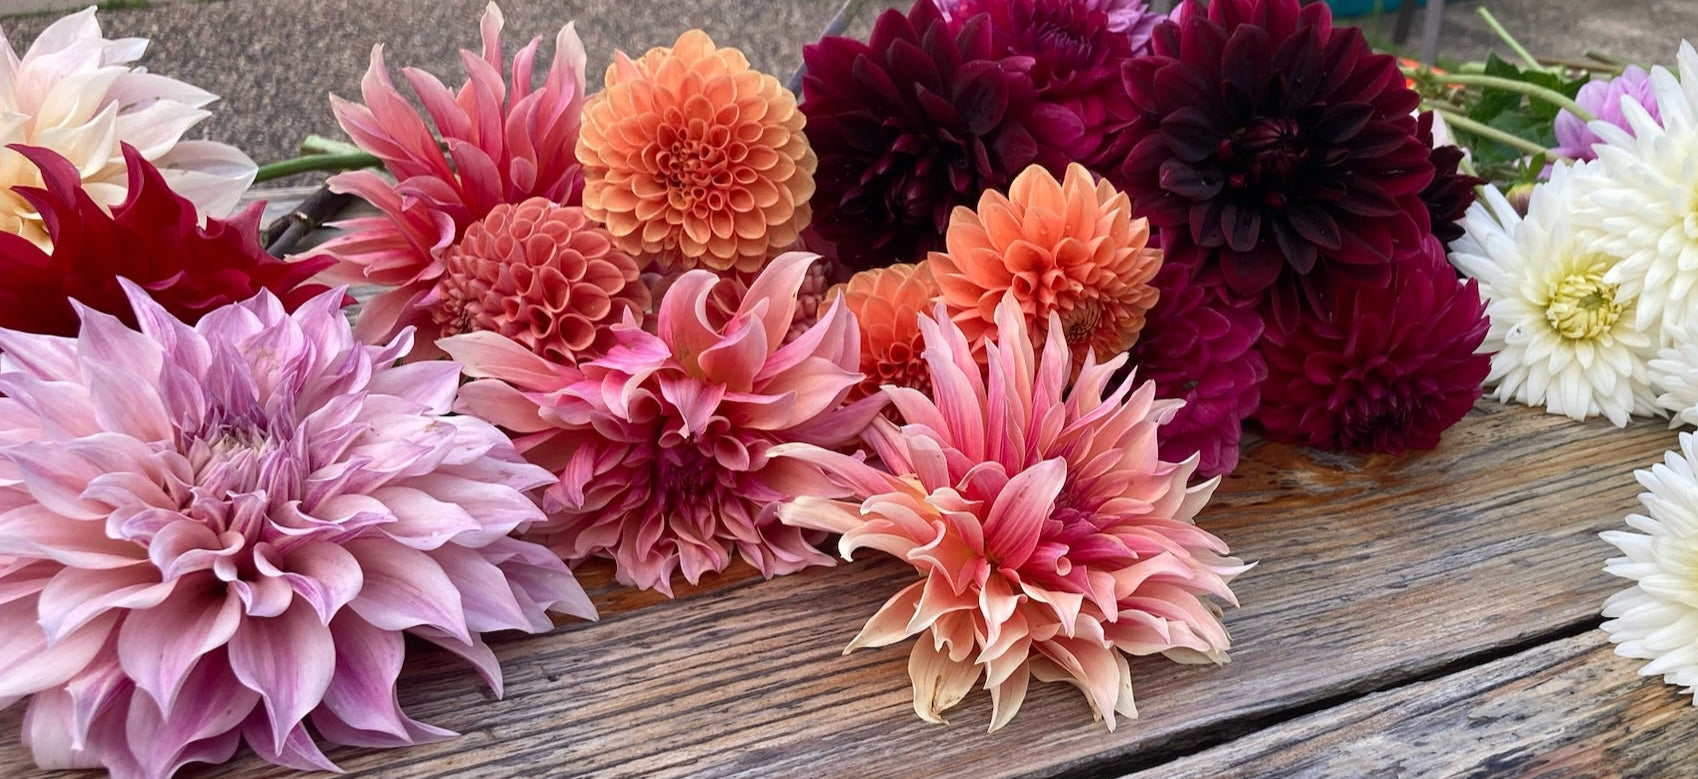
Dahlias — what can we say? They’re a little particular. They don’t like to be too dry, too wet, too cold, or too hot. But if you find that sweet spot, they’ll reward you with some of the most beautiful blooms you’ll see the following summer.
Climates
Depending on where you live, you may be able to overwinter your tubers in the ground, or you may need to dig them up and store them indoors for the winter.
Zones 8-10 can often keep tubers in the ground over winter, as long as the soil doesn’t stay too wet (which can cause tubers to rot). If your area occasionally dips below freezing at night, add a layer of mulch to protect the tubers. It’s also a good idea to dig and divide your tubers every 2–3 years to keep plants vigorous and prevent overcrowding.
For those of us lucky enough to live in Zones 3-7 should plan to dig our tubers in the fall after the first frost, allow them to dry, and store them in a cool, dry place until spring. More on this detailed below!

When to Dig Dahlias
Unpopular opinion. You don't HAVE to wait until after the first hard frost to dig your dahlias.
- If you grow many dahlias, it may be helpful to start the digging process before the first frost to get them all out while your hose is still hooked up.
- If you grow just a couple dahlias, you may prefer to enjoy your blooms as long as you possibly can - up until that first frost that turns your leaves black.
Whichever timing you choose, follow these steps:
Store Properly/Packing Medium Options:
- I have used Vermiculite and peat moss successfully. The goal of the storage medium is to keep the tubers at a consistent humidity level (not too wet, not too dry).
- Add water to the vermiculite or peat most a little bit at a time. Be careful not to breathe in the vermiculite dust when it is dry. The dust tends to dissipate after it is damp. The feeling of the medium should be somewhere between dry and damp. Like a wrung-out sponge that’s had time to air dry
- That in-between state is the sweet spot: just enough to keep the tubers from dehydrating, without creating a humid environment where rot can set in.
- Container Options: There are a couple container options you can use. I have found plastic bins to work just fine. I do not add ventilation holes, but that probably wouldn’t hurt just to avoid excess water/humidity in the container.
- Environment: Cool, dark place with temps around 40-45°F and moderate humidity. A basement, root cellar, or unheated garage can work – tho in Minnesota, garages can plummet. It might be helpful to purchase a cheep thermometer to keep track of temperature.
- Check Monthly: Inspect for rot or shriveling. If tubers look dry, lightly mist your storage medium. If rot appears, remove affected tubers and discard.
-

 Sold out
Levi’s Revenant
Regular price $28.00 USDRegular priceUnit price per -
 Sold out
-

 Sold out
-

 Sold out
Boom Boom White
Regular price $10.00 USDRegular priceUnit price per$12.00 USDSale price $10.00 USDSold out -

 Sold out
KA's® Keltie Rose
Regular price $28.00 USDRegular priceUnit price per -

 Sold out
Coseytown Bounty
Regular price $10.00 USDRegular priceUnit price per$12.00 USDSale price $10.00 USDSold out -

 Sold out


